Install Lighted Building Letters On My Business
There are many different types of signs that would be suitable for business signage, and the best option for you will depend on your specific needs and preferences. Here are a few options to consider:
Awning sign: An awning sign is a sign that is mounted on or above the awning of a building. This type of sign is highly visible and can be a good way to draw attention to your restaurant from the street.
Marquee : A menu board is a sign that displays your restaurant's menu items and prices. This can be a good way to let customers know what you have to offer and help them decide what to order.
Outdoor sign: An outdoor sign is a sign that is mounted on the exterior of your building. This could be a neon sign, a lighted sign, or a sign made of other materials. Outdoor signs are highly visible and can help attract customers from a distance.
Window sign: A window sign is a sign that is displayed in the window of your restaurant. This could be a simple banner or a more elaborate sign that is mounted on the window. Window signs can be a good way to attract customers who are walking by your restaurant.
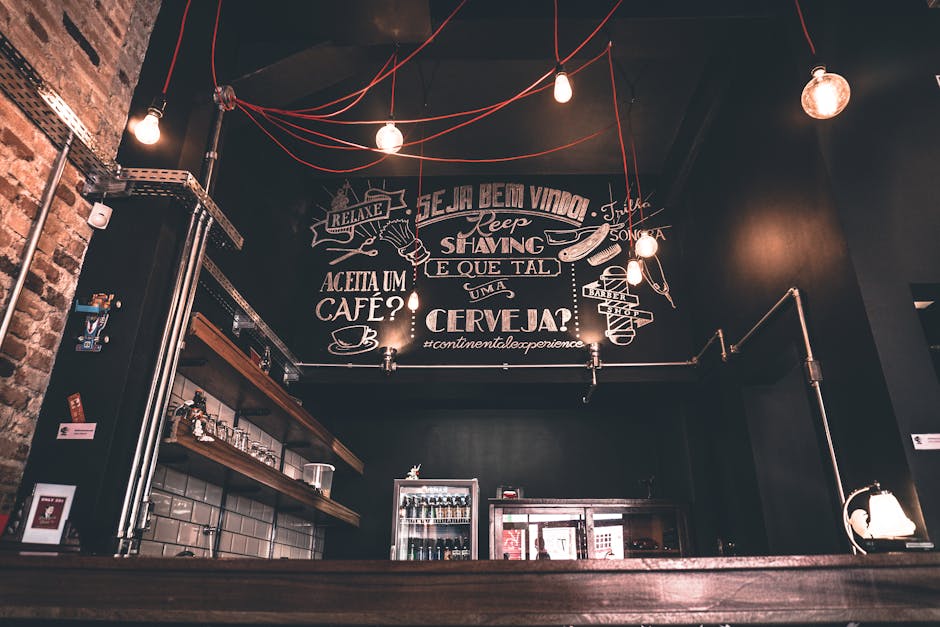
Wall sign: A wall sign is a sign that is mounted on the wall of your restaurant. This could be a lighted sign or a sign made of other materials. Wall signs are highly visible and can help attract customers from a distance.
Lighting is one of the most important parts of your business signage! A well-lit interior or exterior sign can totally change the perception that people have of your company. With light, people will perceive more open and honest environment, which helps create trust.
It also impacts how they feel about you as an individual and company. For example, if someone visits a restaurant at night, they may wonder why there are no signs up outside. Or maybe there are, but they do not work properly. Either way, it creates a negative feeling towards the business and its leadership.
On the other hand, when people go to eat somewhere, they expect to see decorations, pictures, and bright lights. They look forward to seeing proof that the owners care about their customers and want to be seen. This makes them feel better about spending money at the place!
There are many ways to add lighting to your business. You can use ambient light, fluorescents, LEDs, or even laser beams to illuminate different areas. It does not cost too much to start with either type of light.
This article will talk about some easy ways to install light bulbs in your business so that everything looks professional and authentic. The two main things we will discuss are using pre-existing holes or adding new ones where needed and installing LED light strips correctly.
Decide where you want your letter to be

Let’s say that your business name is “The Best Re-Stuffing Machine in Town.”
Now, what if someone wanted to refer to you as “The Worst Re-Stuffing Machine in Town?”
You would probably not appreciate it!
So how do you respond to such comments? You could simply ignore them, but that wouldn’t prove anything. Plus, people will always have something to talk about.
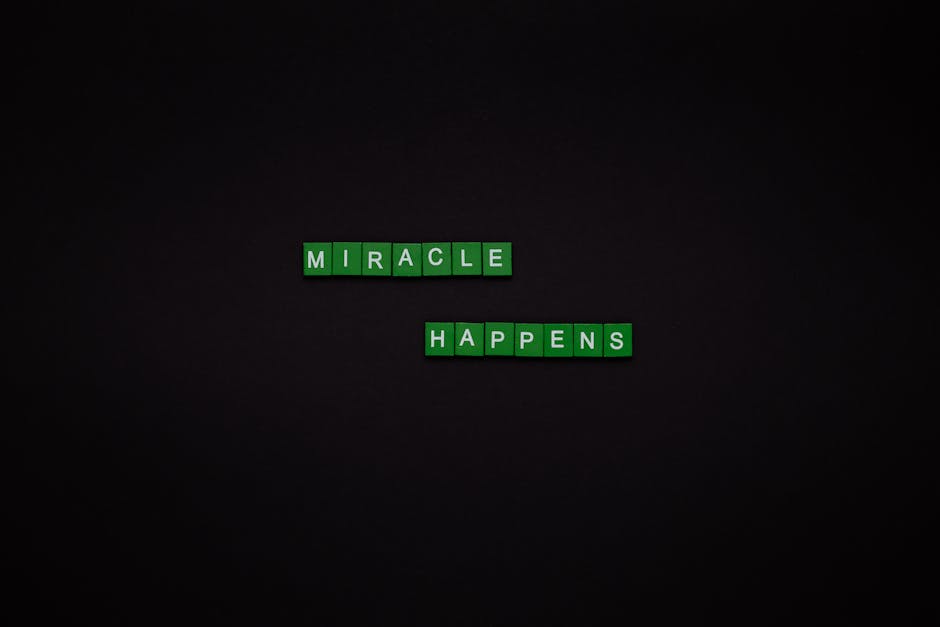
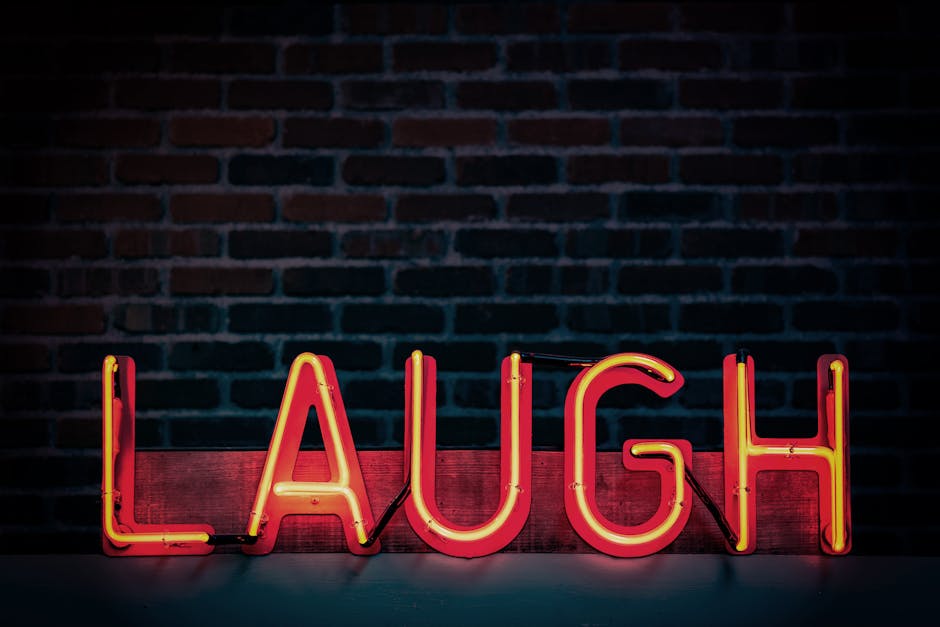
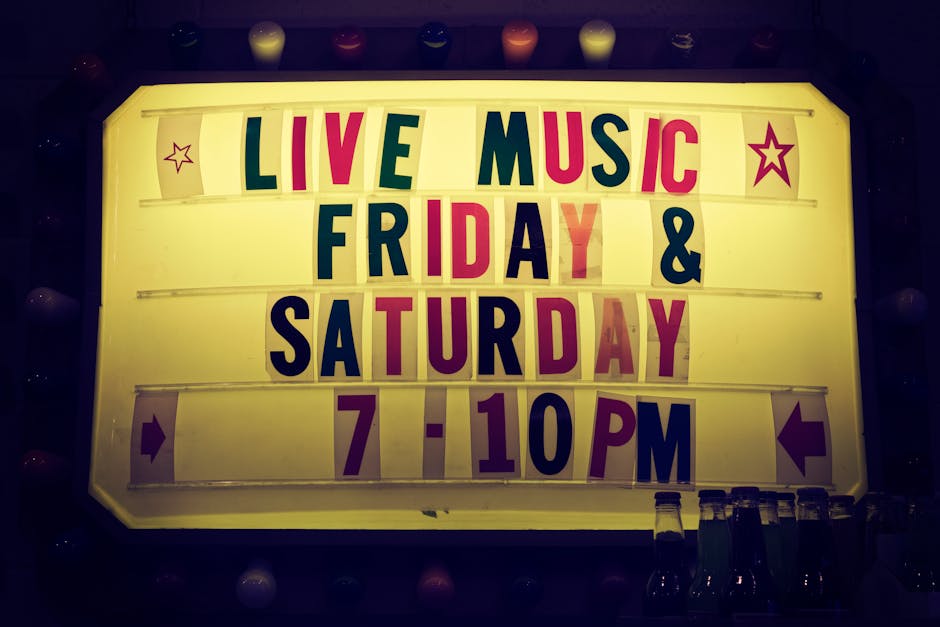
Instead, use lighted building letters to defend your business moniker!
These are like little flash signs that sit next to your business name and illuminate when touched or clicked with an LED light. They can be designed to either read out a message (like for a restaurant opening) or just glimmer in pretty colors (for a florist shop).
I know what you are thinking – why don’t they JUST WRITE A LETTER?!?
Well, sometimes a simple handwritten note isn’t appropriate. For example, if you sent off a thank you note after buying a gift, a quick written sentence won’t work.
Buy lighting fixtures
Lighting is one of the most important parts of your business, especially if you want it to succeed. Luckily, buying new lighted building letters is not too difficult or expensive!
There are many different types of illuminated signage you can buy at any major department store or online shopping site. Most vendors will have similar styles and features, so do some research and pick the best one for your business!
Some examples of illuminated building letter products include: floor signs, wall hangings, backlit glass doors, and ceiling tiles. All of these can be installed in your office space or outside where people can easily access them.
They’re also affordable, usually costing less than $100 each! Even though they may seem pricey at first, this really helps boost your marketing budget since you get more use out of them.
Wire up the lighting fixtures
The next step in installing your new lighted business name signs is to wire up the lighting fixture. This can be done at home, but only if you have experience doing so!
There are many different types of lights that come with this kit. You will want to make sure you have enough cables to connect all of them properly. For example, some require just one cable, while others need several depending on how many colors they have.
Make sure to research your equipment before buying extra cords or connectors to see that it works well with yours! That way you don’t waste money.
After everything is connected, test out your sign by switching off the other ones first to ensure it functions correctly.
Install the letter template on your wall

Let’s look at one final way to add some illuminated showpieces to your business space — installing light-up letters!
I have designed two different style letter templates that can be used for this purpose, both of which are available as free downloads from my website here: www.christinahouska.com/lightablets/.
The first style is called “Illuminated Initials” and it features white glowing capitalized initials against a black background. These initial shapes include ILLUMINATE, INITIALS, GLOW IN, LIGHT UP AND VIBRATION, and OTHER. You get to pick your color palette – you choose either red, blue, green or yellow glow in effect.
And because these lights are fully programmable using an app, you can create fun special effects such as fade down, ripple up, pulsate, etc.
This style letter was inspired by the Illumination Studio, a popular party decoration where guests write their own message under the flashing sign.
Practice putting up the letter

Let’s look at an example of how to put up your business name or logo in lighted letters. This can be done for either real estate agents, plumbers, car dealerships, or any other type of business you want to attract more clients.
Step one is to pick your font and color. In this case we will use Prose as our font, and red as our color. Once those are picked, it’s time to find some laser-cut vinyl sheets that are 1–2 inches thick.
These vinyl sheets are called signset materials because they have the space for the text and for the backlighting layer which comes later. The size depends on the length of your business name, but typically there are large enough sheets for around 30 characters.
The next step is to take your vinyl sheet and place it over the front side of your business sign. Make sure it covers all sides, and then go ahead and attach the backside onto your business name using adhesive.
Now roll up the whole thing and cut off any excess material. You now have yourself a cool looking illuminated wordmark! To use it, just lower the intensity of the lighting effect until you get a comfortable level.
Finish installing the letter

The final step in adding lighted building letters to your business is actually putting the lights in! These can be done several ways, depending on what type of lighting you have and how much budget you have for this project.
You can buy pre-made LED panels that work with your sign’s frame, or you can use individual LEDs or groups of LEDs to put together your own panel.
The easiest way to do this is by buying small, groupings of LEDs that are designed to go into cars, house decorations, or office décor. Many companies will sell these as a set, so make sure to check before purchasing them separately!
These sets usually include cables to connect all of the components together, but if you have good soldering skills you can easily add some extra touches to create your own cable system.
Create your own lighting fixtures
Let’s look at some examples of how to create your own lighted business signs using different materials. These are not expensive, and they are definitely doable even if you have no experience in making things.
The first thing we will discuss is creating your own illuminated letters. These can be done easily with any kind of letter or word that you want to illuminate. All you need is white paper or cardboard, a source of electricity, and thin plastic sheeting such as clear packing tape.
By putting together several layers, you get an effect similar to old school neon lights. The thickness of the plastic sheets determines how bright the sign gets. You can also mix and match types of plastic to find the right balance.
Another important factor is where you position the plastic sheeting. Try moving it around and see what looks best.
Buy a letter-shaped mirror
Let’s look at some examples of illuminated business logos. First, we will use the word “letter” to refer to this object that does the illuminating. A letter is just one example of an Illuminated Business Logo.
The word “illuminate” comes from the Latin words lumen (light) and illuminatere (to put out light). So, it means to give off light or to brighten something else.
I have selected several easy to make illuminated letters for you to try in this article! None of these take more than 30 minutes to make and all are cost effective. Pick your favorite and get experimenting.