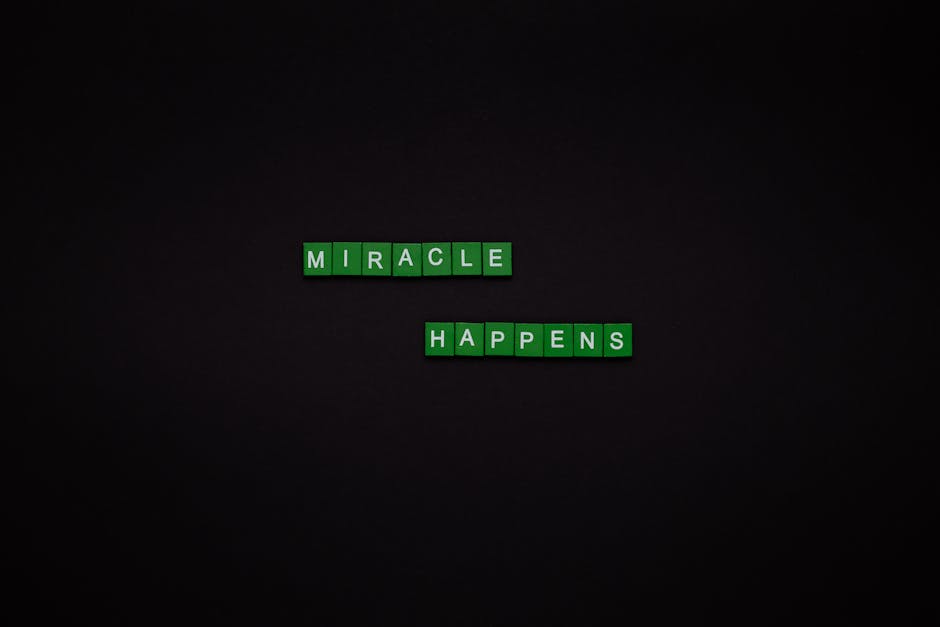
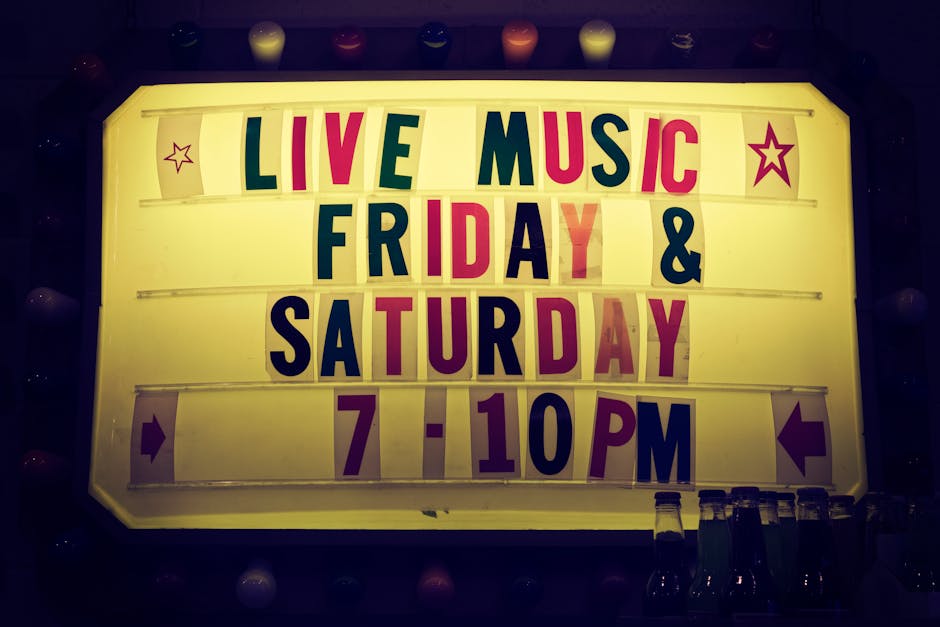
Creating light up letters is a fun way to add some decoration to your creations! You can create all sorts of illuminated designs, from simple words or numbers to entire messages. There are many ways to do this, so here we will go over several easy methods for creating lightup letters.
There are two main types of lights you can use in creating illuminated designs- direct illumination and indirect illumination. Direct illumination uses external sources such as lamps or sunlight to illuminate the element being decorated, while indirect illumination uses layers of material that work together to bounce back some of the light.
This article will focus almost exclusively on using indirect illumination to produce beautifully glowing decorations.
Connect the lights to a power source

Once you have your light up letters organized, you will need to connect them to a power source. This can be done several ways, depending on how many letters you have and what type of lighting you want to use.
You can buy pre-made connectors for all types of light up letter sets, or you can do it yourself! It is pretty easy if you are familiar with sewing and/or jewelry making.
Test the lights
The first way to make light up letters is by testing your lamp! You can do this by using a needle or pin to touch a button and see if it comes on. If it does, great! you have determined that the bulb works!
For more difficult buttons, there are two types of bulbs used for making designs. One is called an LED which stands for light emitting diode. These are much thinner than normal bulbs and need to be placed in very close proximity to work. The other type is called EL (for electroluminescent) which needs to have enough power to create the effect of seeing through the letter.
These two types of bulbs cannot usually be replaced though, so make sure you buy ones that are certified as working! Good sources for these are online sites such as Amazon or sellers at brick and mortar stores.
Wipe down the surface with a disinfectant

After you’ve practiced your lettering, it is very important to wash the glass or plastic surface where you wrote your letters.
Never use water as this will probably cause peeling of the layer that contains the printed image. Use a clean, strong disinfectant instead!
Most alcohols work well, like rubbing alcohol or ethanol. Simply spray onto the surface and let sit for a few minutes before wiping away.
Create a plan for how to make light up letters

There are several ways to create your own light up letter designs or logos. You can do it with gel pens, markers, paint, computer software, you name it!
Some people start by drawing their design in pen then transferring the pattern onto paper or setting it as a shape in photoshop or other editing programs.
Here we will go through another way to make your own lightup logos using plain old photocopying and cut out shapes!”
Photocopy and cut-out shapes is one of the easiest ways to make your own light-up logo. By keeping it simple, you can add fun decorations to them easily.
Use safety precautions
While creating your own light up letters is very fun, there are some necessary steps that must be done properly. First, you will need a source of electricity for the device. This could be using an external power supply or battery!
Second, you will want to choose a surface like wood, plastic, or paper that can handle direct contact with the lights. Materials such as these won’t burn easily.
Third, remember that every component has electrical current running through it so make sure to use adequate protection when working with electricity. Leather shoes are the most common way to protect people’s feet, but rubberized footwear is also good to have.
Last, keep all components away from other moving parts or equipment to prevent any potential accidents.
Use the correct supplies
There are many ways to make light up letters, but you must use the right materials to achieve that effect. You do not want to use markers or gel pens that have powder in them as they will burn out and featureless designs.
You can also cannot use regular white pen as it will look very plain once finished. Many people use mechanical pencils to create your letter shapes because you can sharpen the end, but remember to remove some of the lead before creating your design so it does not break!
There are several types of plastic glue that work well for making lights such as Glue Dots, Liquid Paper, and clear Gel Pens. Never use tape glues as they will set and dry solid.
Start making light up letters

The next step in adding texture to your lettering is starting with simple shapes or patterns as bases for your letters. A very common way to do this is by drawing some basic shapes such as squares, rectangles, circles, and triangles.
From there you can either pick an object from the surrounding area and trace it into another shape, add onto a pre-existing shape, or combine two of them together to make a new one.
By doing this several times, you will find yourself creating all sorts of beautiful geometric designs! And when you are done, you can go back and edit, blend, or cut away parts of these shapes to create your own unique letters.
These steps also apply if you want to draw inspiration from other people’s work to make your own style lighter or heavier depending on what kind of look you desire.
Connect the lights to the letter
The next step in creating your light up letters is connecting all of the individual pieces together. You will need clear plastic or cardboard sheets that are the same size as your finished product. These can be cut using utility trimmers, hole-making tools, or with handsaws.
To connect each piece, you will have to put some pressure onto the back side of the lettering element. This presses it into the plastic sheet or card board so that when you pull off the backing, the element comes out naturally attached to the next one.
This process must be done very slowly and carefully so that you do not push through too much air which would cause the element to break or distort.