During my career, I have freelanced on and off. The biggest lesson I’ve learned in working with clients was the importance of setting expectations from the very beginning.
It helps both parties get on the same page and can prevent miscommunication down the line. That’s why you often have initial discovery calls, set meetings, and draft contracts.

Another way to set expectations is by creating a design brief. It’s essential in the early stages of your design project, whether you’re working with someone in-house or outsourcing it to an agency or independent contractor.
Here’s everything you need to know about what to include in a design brief and the templates that will help you create one quickly.
Think of this brief as a blueprint: It lays out all the information your designer will need to complete the project and helps align both parties on the expectations. Typically, the client (or brand) will fill out most sections in the brief once they know what they’re looking for.
The assigned designer will then complete it based on conversations with the client. It serves as a baseline from which to build the project.
So when would you use a design brief? For:
- A website (re)design
- A logo (re)design
- A (re)branding package
- Creative assets for social media or ad campaign
- Video assets
What to Include in your Design Brief Template
1. An Overview of Your Brand
The first thing you’ll want to outline in your design brief is information about your brand. This gives a big-picture understanding of your business and helps frame the rest of the brief.
Here’s what to include:
- Your industry
- Your products and/services
- Your unique selling position (USP)
- Your mission and your values
- Your competitors
In this section, you can also list your direct and indirect competitors, depending on the project.
If you already know who you will be working with on this project, list the decision-makers for the project and any key stakeholders involved. Outlining the points of contact right from the beginning will streamline the workflow and prevent communication silos.
2. Your Project Overview
As one of the most important sections in your brief, spend time figuring out what you’re looking for before writing this section.
Don’t know where to start? Answer this question: What problems are you trying to solve? This provides context for the intention behind the project and can also help the designer generate new ideas. It’s like going to the doctor. You have to say where it hurts for them before they can prescribe something for relief.
For instance, let’s say you want to redesign your website. The reason could be your users aren’t converting, or because the company has recently shifted and needs a website to reflect this change. Knowing the reason behind the project is equally as important as the project itself.
Next, state your goals and objectives. What do you want to accomplish through this project? Is this a part of something larger? Are there any roadblocks that could hinder your project?
The more detailed you can get, the better. Your goals could include improving website conversions, reducing bounce rates, and/or increasing traffic. It all depends on the project.
Answering these questions will be instrumental in aligning your vision with the designer and creating the space to address any potential issues.
Finally, this section should list your deliverables, such as:
- Required assets (illustrations, photos, videos, mockups, wireframes)
- File formats
- Dimensions
3. Your Branding Guidelines
Unless your design project is for branding, list your branding guidelines in your design brief. This breaks down the rules your designer will need to follow and keep in mind for your project. Rules relating to your:
- Color palette
- Brand voice and tone
- Typography
- Logo
For any design project, you want to make sure your designer creates something that aligns with your brand identity. If you’re in the process of developing your brand identity, you can also provide mood boards to help the designer understand your vision and the direction you’re heading in.
4. Your Target Market
Every design project is developed with the end-user in mind. In this section, dive into who that user is.
Describe your user persona and how you imagine them interacting with this project once it is completed. If you have already done some market research, you should list your target audience’s demographics, behavioral habits, values, interests, and online behavior.
For instance, let’s say you’re an affordable shaving cream brand for men and your current branding and messaging aren’t resonating with consumers. After running a few experiments, you’ve realized that your target market doesn’t see your brand as approachable, inviting, or relatable.
For your design project, you’ll want to revamp your branding package to reflect your consumers. By knowing more about your target market, your designer can use their knowledge of design principles and studies to create a product suited to your audience’s needs.
5. Your Budget and Timeline
These are the nitty-gritty details that are necessary to determine the right partner for your project. You may find a designer who’s great but cannot meet your expectations in terms of timeline.
Similarly, you may find out during a discovery call with a design agency that they cannot work within your budget.
Outlining your budget and timeline will help to weed out people who aren’t the best fit for your project. While timelines can be flexible, it’s important to set an ideal timeframe from the beginning and adjust later, if needed.
Once you select a designer or agency, together you’ll decide on milestones or deadlines during the length of the project.
A Design Brief Example
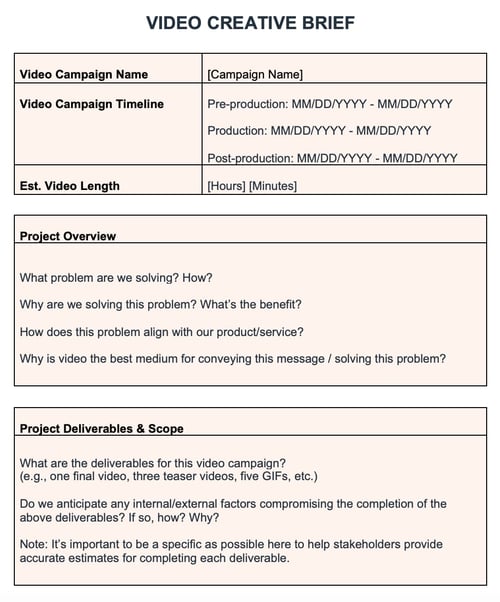
Your design brief should be detailed, providing as much context as possible to facilitate your designer’s understanding.
This video creative brief template presents the key questions you’ll need to answer to write an effective brief.

Having templates for each type of design project saves time and can ensure that everyone on your team follows the same process.
Design Brief Generators
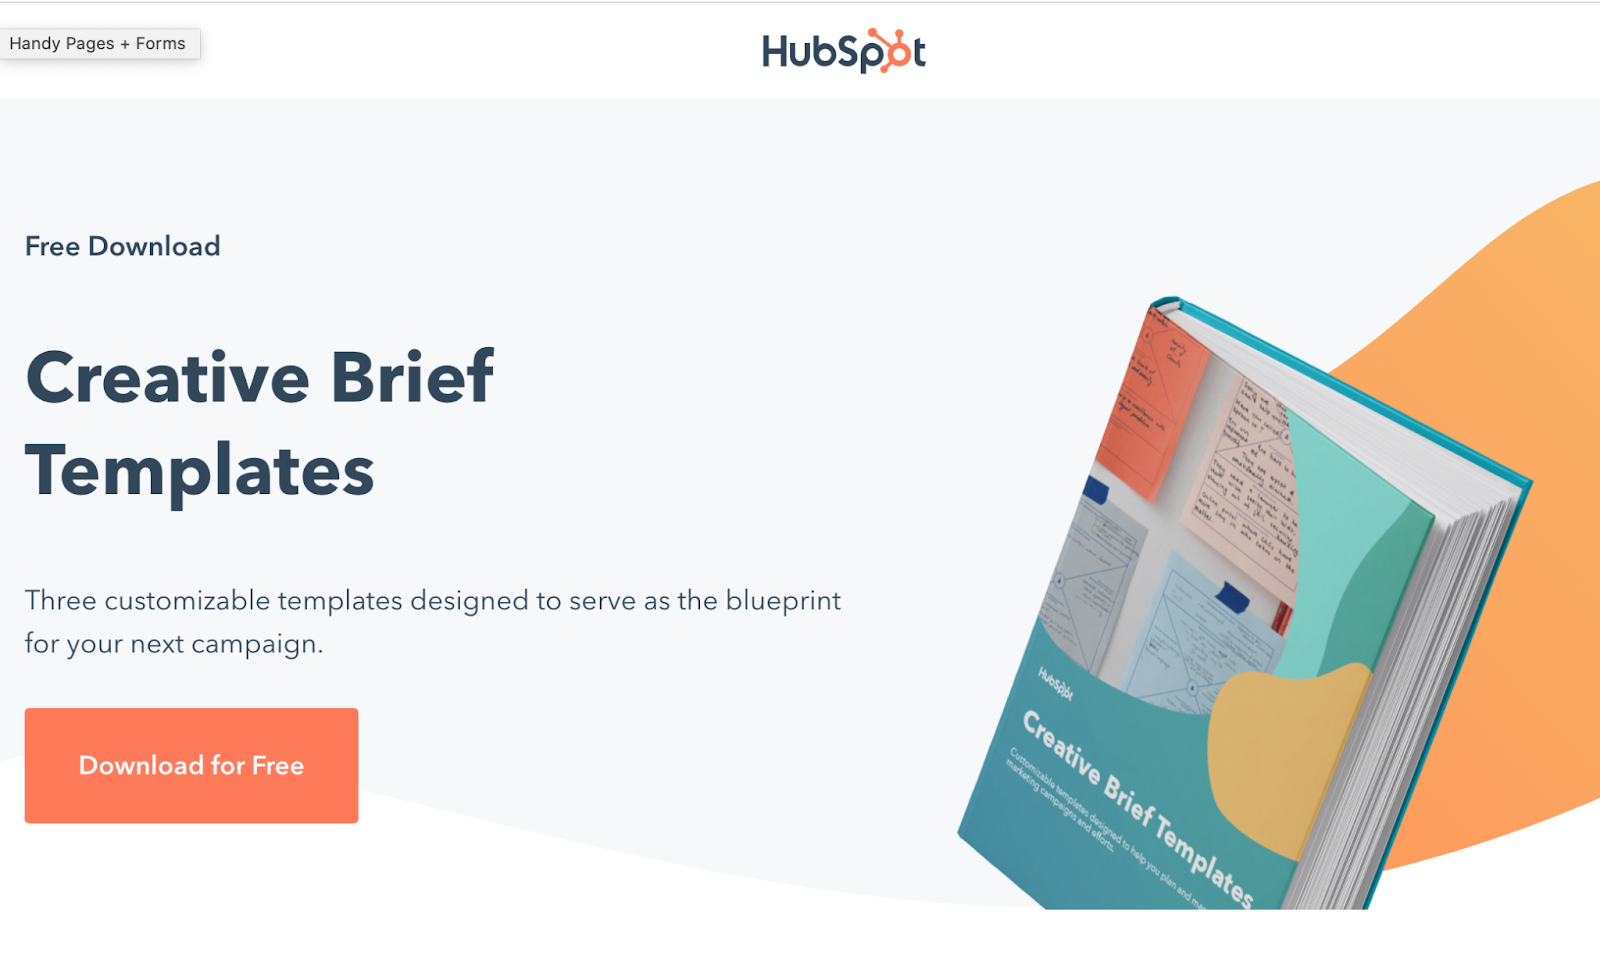
1. HubSpot’s Creative Brief Template
If you’re looking for a set of design brief templates to use for future projects, HubSpot’s got you covered.

The document includes three creative brief templates designed with different goals in mind:
- A campaign template for when you’re launching an ad campaign and need to outsource the creative assets.
- A video template for a video project that involves ideation, production, and distribution.
- A client template for both designs and marketing managers who are working on a design project.
Each template includes detailed sections to help you flesh out the key elements of your project and build an effective design brief for every situation.
The best part? It’s free.
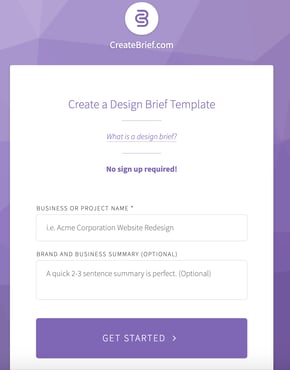
2. CreateBrief
Createbrief is a great place to start if you’ve never created a design brief before.

The tool is designed like a survey, asking you key questions about your brand to understand what you’re looking for and your requirements.
Once you answer all of the questions, you get a design brief that you can share with others through a custom URL. While it isn’t very in-depth, it can be useful during the initial process of building your brief.
There’s no sign-up required and you can use the tool as soon as you land on the webpage.
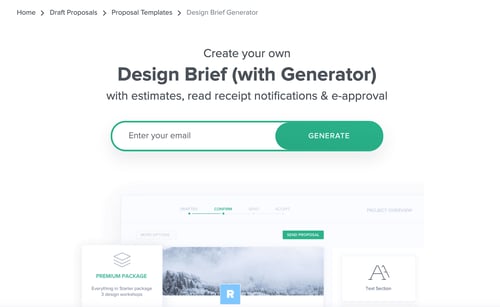
3. Bonsai’s Design Brief Generator
Bonsai is a freelance management app that helps freelancers manage their clients. If you’re a small business looking to outsource your design work, you can build a design brief template right on the platform.

Once you create it, you can also send it via email for approval and get read notifications.
What’s great about Bonsai is that its templates are typically reviewed by experts, ensuring that it will have everything you need for your project.
To use the template, you must enter your email and sign up for the software.
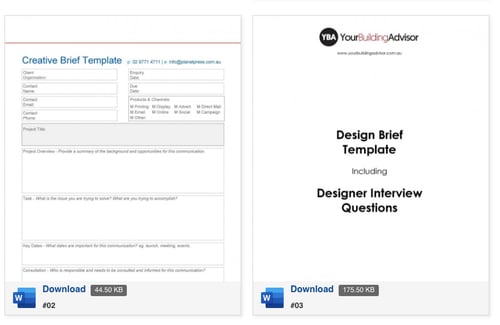
4. TemplateLab
The TemplateLab offers hundreds of free customizable templates you can sift through and download. 
The site currently has 50 design brief templates, ranging from website briefs to interior design briefs. A standout feature on the website is the ability to see exactly what’s included in the template before you download it.
Once you download it to Microsoft Word, you can customize it to meet your needs.
While you could start your design project without a brief, fleshing out the details ahead of time ensures everyone is on the same page. It’s a short, but important step that will save you time (and money) down the line.

![]()
from Irvine Business Signs https://ift.tt/3aKhJXp
via Irvine Sign Company
Outsourcing a Design Project? Here’s How to Write a Design Brief was originally posted by Local Sign Company Irvine, Ca. https://goo.gl/4NmUQV https://goo.gl/bQ1zHR http://www.pearltrees.com/anaheimsigns


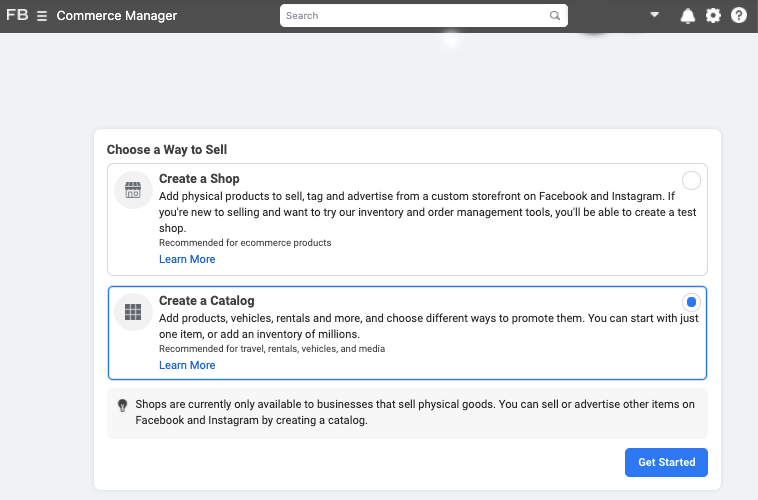
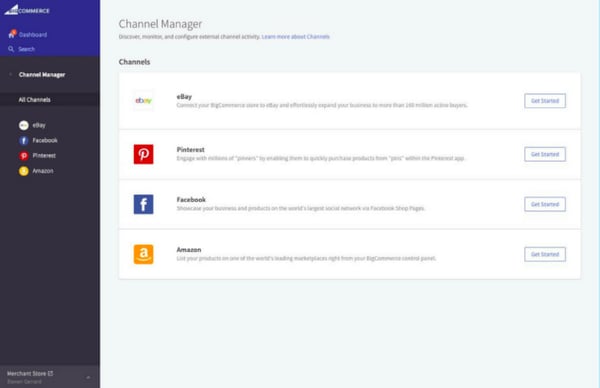
 2. On the setup page, click on "Get Started."
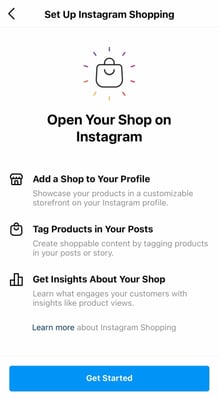
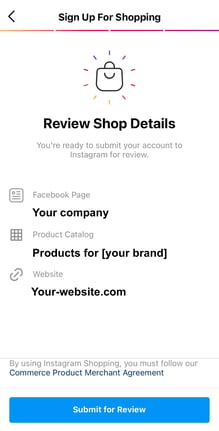
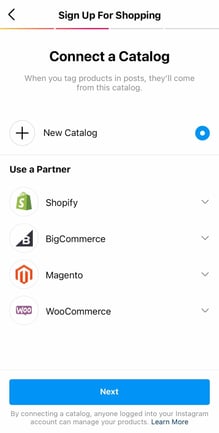 4. Review the details and click "Submit for Review."